
In Android 11, Google not only introduced new useful features, but also made some changes to the file system (they also affected Android 12). To be precise, the “corporation of goodness” forbade third-party applications from performing actions with the /Android/obb and /Android/data folders – standard file managers give an error: “Failed to create the folder … Android / obb. Permission denied. Failed to create… android/obb. No such file or directory. The files were not extracted.”
According to the development team, they took this step for the sake of safety. But along with this, it is no longer so easy to install third-party applications that require a cache. After installing Android 11, the first thing I decided to study this issue and tried to get around the limitation. At the moment, I have found two methods that do not require Root rights – installing special file managers or using adb (Android Debug Bridge). For the second method, a PC is required. Both methods for setting the cache work on both Android 11 and Android 12.
Method 1: through the file manager
Step 1. Download file manager MiXPlorer or X-Plore.
Step 2 Open the file manager, find the cache. If it is downloaded as an archive, extract it. To do this, open the file and, holding your finger on the folder inside, click the “Copy” button.
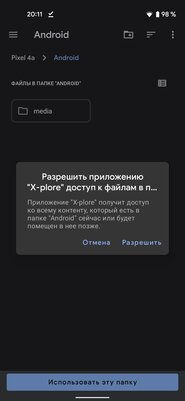
Step 3 Go to directory Android/obb or Android/data (depending on which one you need), and there click the “Insert” button. When a window appears asking you to give the application access to files, click “Allow”.
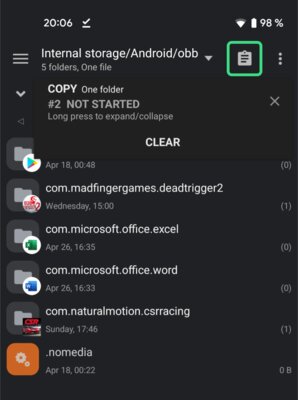
Step 5 Once in the directory Android/obb or Android/data the desired folder appears, you can run the application for which the cache was needed.
Method number 2: through ADB
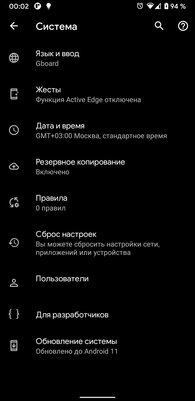
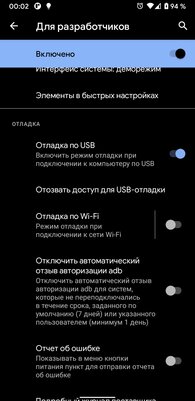
First you need to go to the “Settings” on your smartphone, then to the “For Developers” section and enable “USB Debugging” in it. If you don’t have the “For Developers” item, you will first have to go to the “About Phone” section, find the “Build Number” there and tap on it several times until the message “You have become a developer” appears.
The next step is to download adb on PC. To do this, you need to go to the official website and download the software for your platform, and then unpack the resulting ZIP archive in a convenient place (if you have Windows, I recommend moving the extracted folder to the root of drive C to simplify).
How to copy cache to android/obb or android/data on android 11 and 12
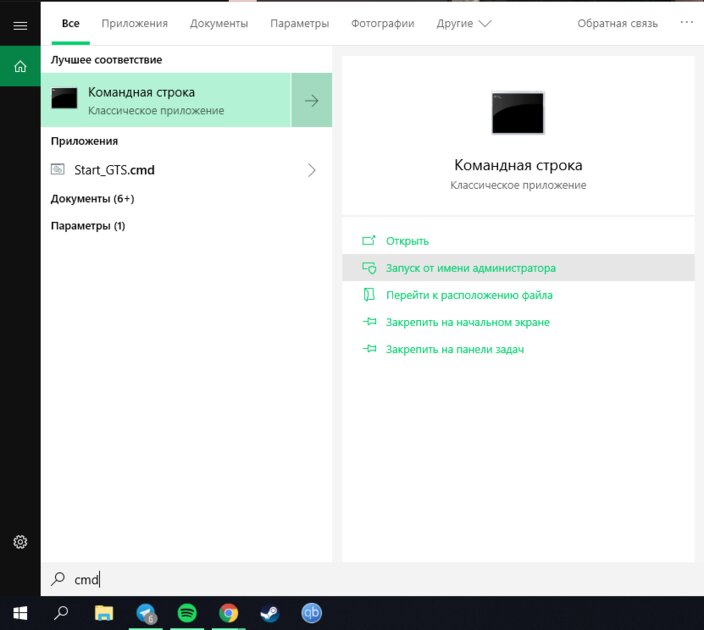
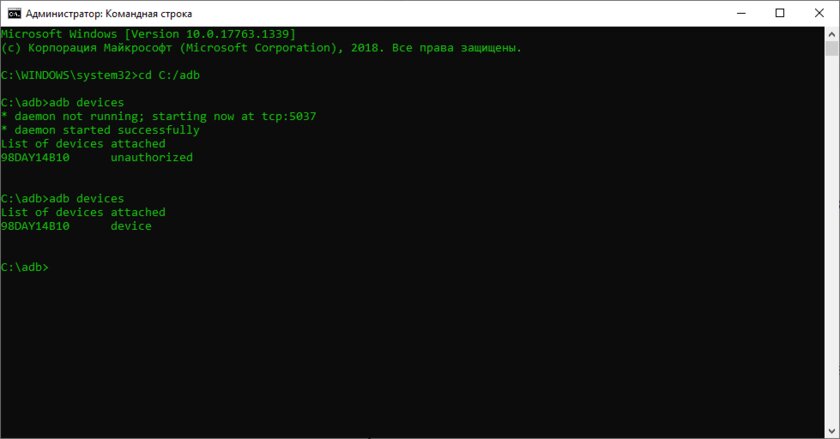
So, everything is set up and the smartphone is connected to the PC. If you have Windows, the first thing you need to do is open Command Prompt as an administrator. You can do this by typing “cmd” in the system search and selecting the appropriate item.

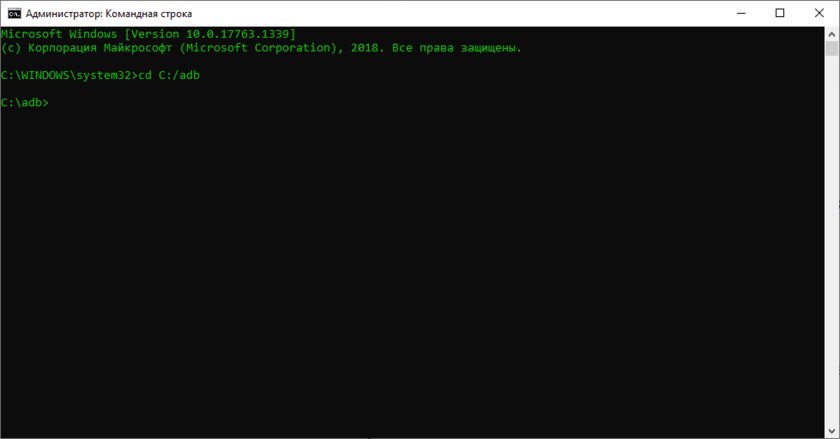
Next, you need to write the following command: cd
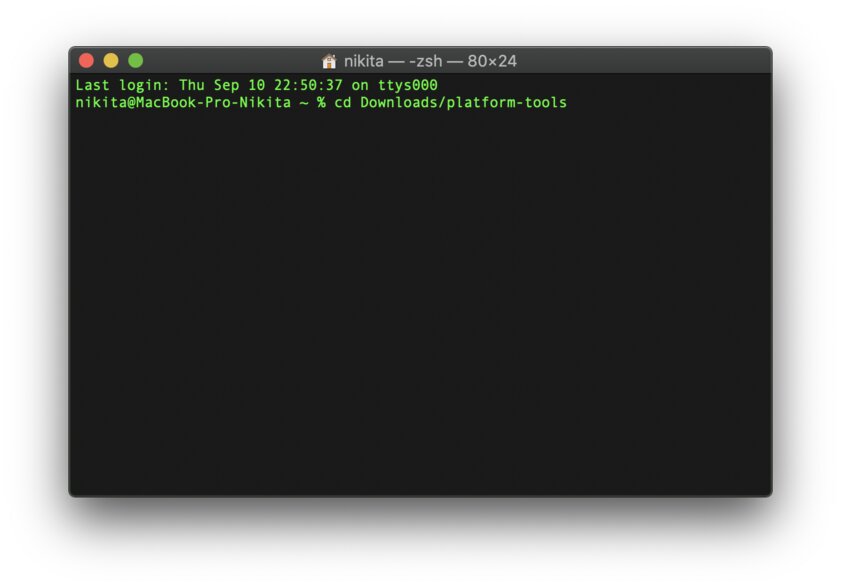
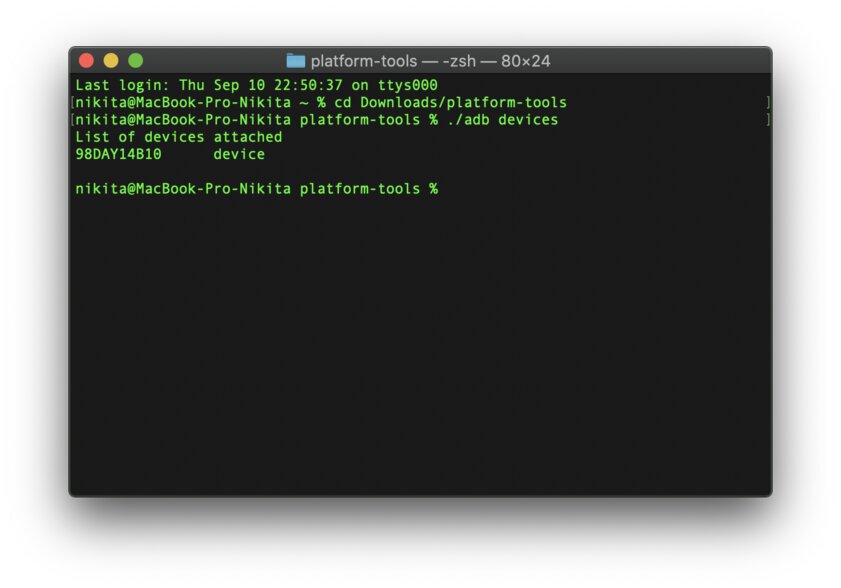
For owners of computers on macOS, the steps are almost the same. After downloading and unpacking the tools, you need to open the terminal, go to the directory with the files (by default it will be the Downloads folder) with the command cd
Let’s move on to uploading files. The command that is required for this is built according to the following template: adb push
It is noteworthy that adb cannot send entire folders to the device, so for this you will have to create a folder in advance, and already throw the file (s) into it. The folder is created with the command: adb shell mkdir
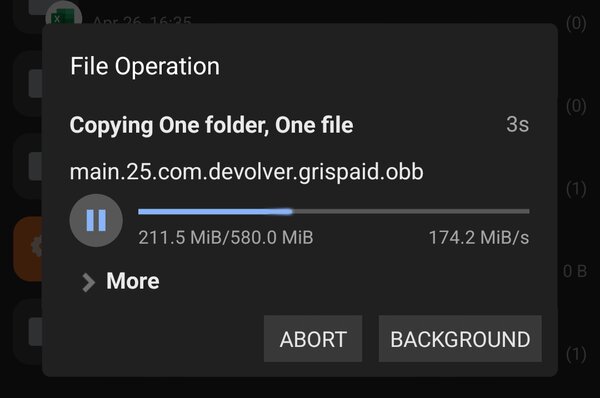
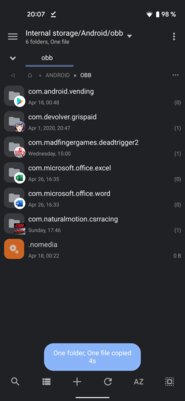
As an example, I’ll take a look at the cache migration process for the GRIS game. Initially it comes in a folder com.devolve.grispaid, so first I will create a directory on the smartphone with the command adb shell mkdir sdcard/android/obb/com.devolver.grispaid.
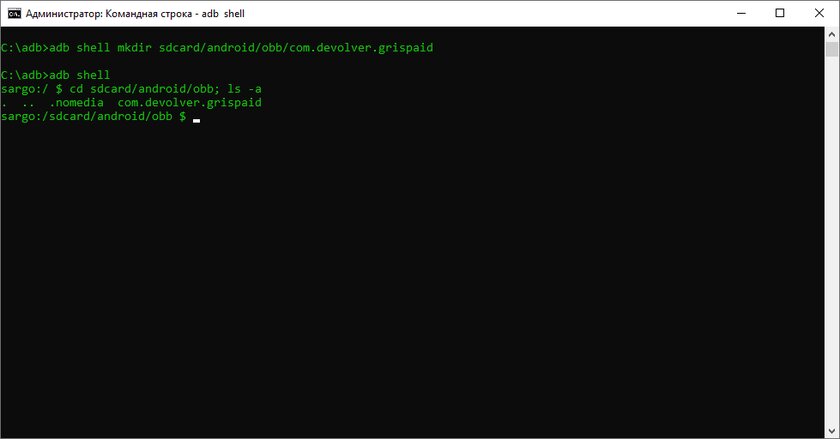
Once the folder is created, I use the command I talked about earlier: adb push C:/com.devolver.grispaid/main.25.com.devolver.grispaid.obb sdcard/android/obb/com.devolver.grispaid

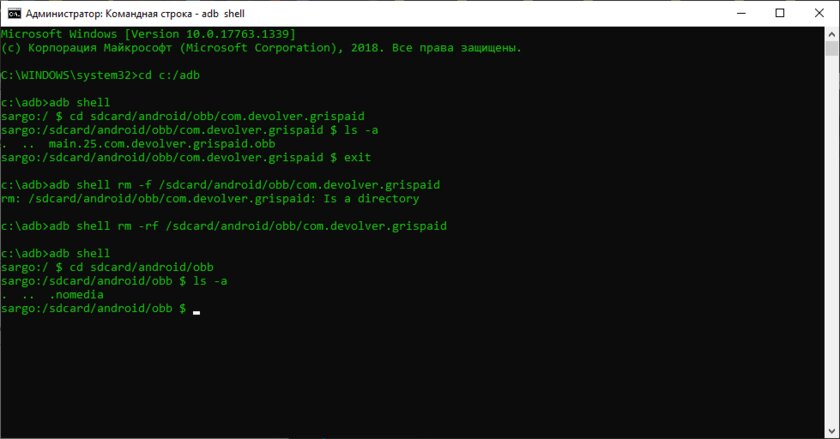
How to remove cache from android/obb or android/data on android 11 and 12
To delete files, you need to write the following command: adb shell rm -f
Donald-43Westbrook, a distinguished contributor at worldstockmarket, is celebrated for his exceptional prowess in article writing. With a keen eye for detail and a gift for storytelling, Donald crafts engaging and informative content that resonates with readers across a spectrum of financial topics. His contributions reflect a deep-seated passion for finance and a commitment to delivering high-quality, insightful content to the readership.


